There is an easy way to upload design files or packages by mapping the Master Page gallery to a Network drive.
Before doing the below steps make sure Web Client service is started under services. If the Web Client service name is not present you must install the Desktop Experience Windows feature .
The steps to map a network drive to gallery
1. Click on Design Manager in your publishing site.
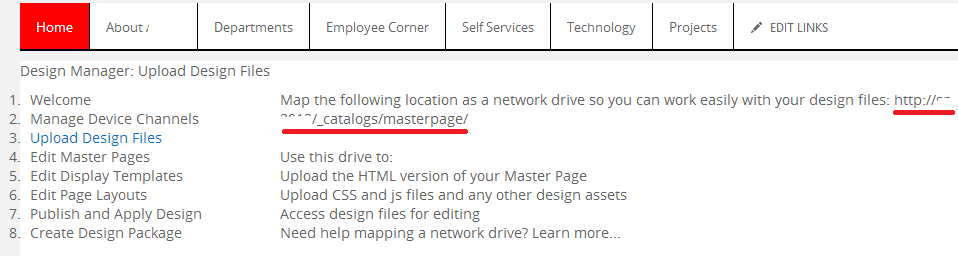
2. Select the third option Upload Design File


Before doing the below steps make sure Web Client service is started under services. If the Web Client service name is not present you must install the Desktop Experience Windows feature .
The steps to map a network drive to gallery
1. Click on Design Manager in your publishing site.
2. Select the third option Upload Design File
Here we can check the page that contains the location of Master Page Gallery. Location ends with /_catalogs/masterpage as shown in the image above. This is the location that we need to map the network drive.
3. Right click the computer and select 'Map network drive'
4. Select any Drive and click the red marked link
5. Paste the url to the master page gallery
6. Now our mapped folder is under network location. By checking the mapping folder, we can see all the master pages
No comments:
Post a Comment